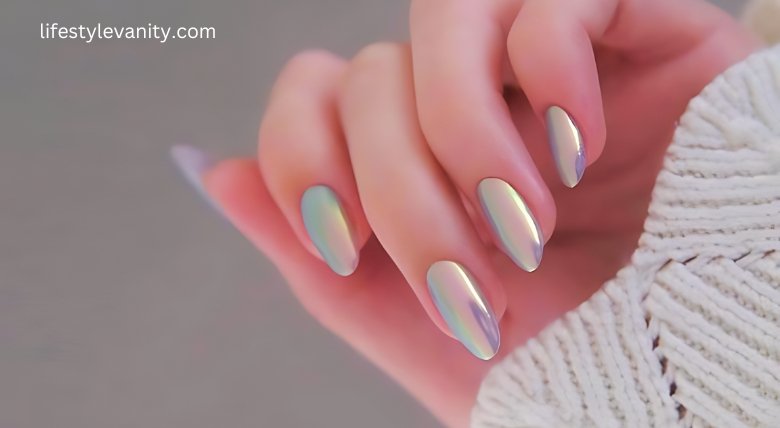
Transform Your Nails into Tiny Masterpieces
Nail art has evolved into a significant form of self-expression, with intricate designs and innovative techniques transforming nails into miniature works of art. From classic French tips to bold, modern patterns, there’s a nail art design for everyone. Whether you’re a beginner or a seasoned pro, this blog will guide you through some of the most popular nail art designs and techniques, providing inspiration and tips to help you create stunning nails.
1.Classic Nail Art Designs
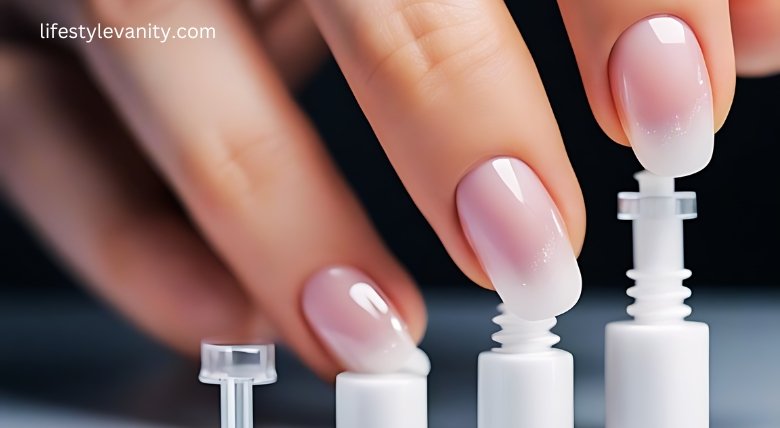
French Manicure
Description: The timeless French manicure features a nude or pink base with white tips.
How to Achieve: Use a sheer pink or nude polish as the base color. Once dry, apply white polish to the tips of your nails. Finish with a clear top coat for shine and longevity.
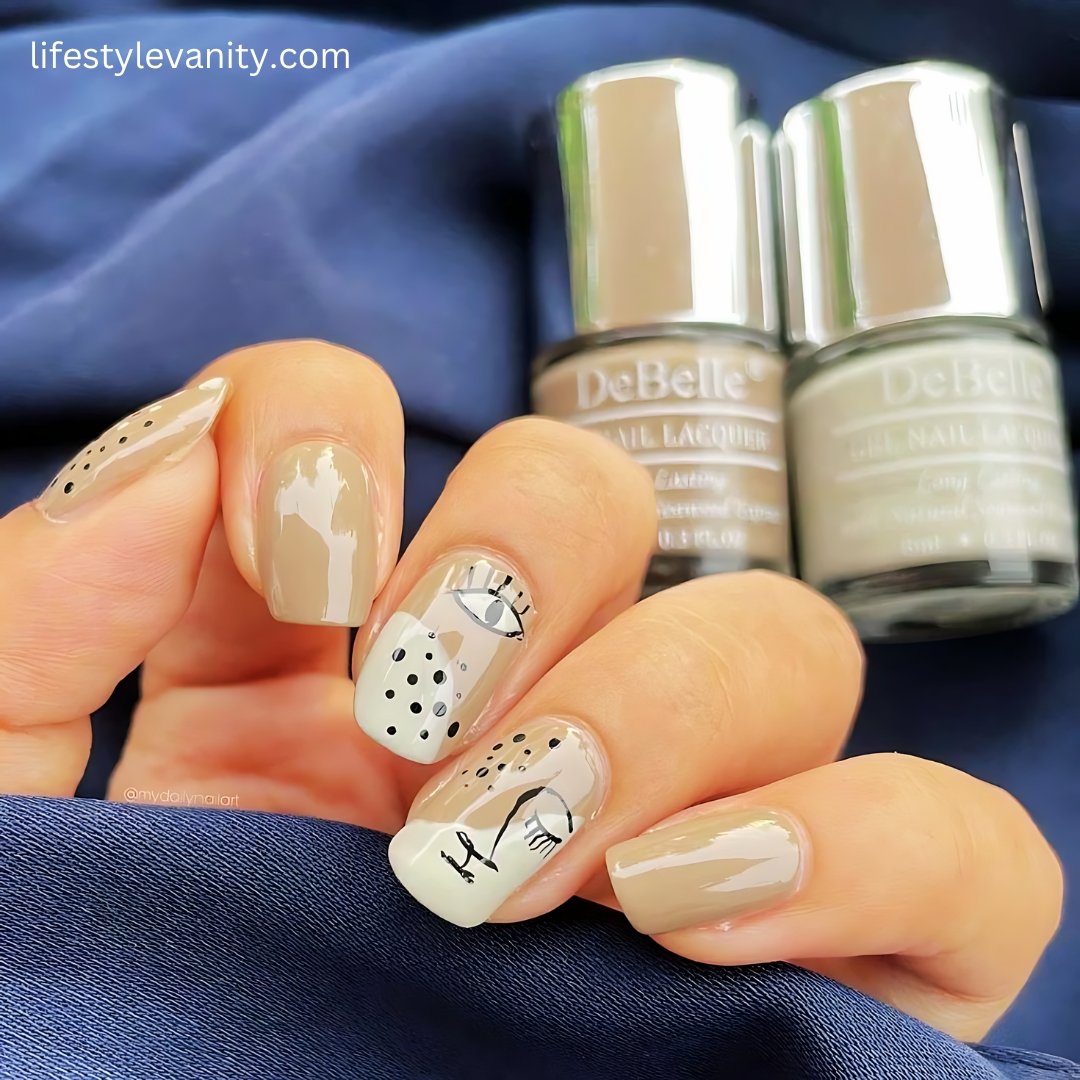
Polka Dots
Description: A playful design with dots of varying sizes and colors.
How to Achieve: Use a dotting tool or the end of a bobby pin to apply dots of nail polish onto a base color. Experiment with different colors and dot sizes for variety.
Stripes
Description: Simple yet stylish stripes in various colors and directions.
How to Achieve: Use striping tape to create clean lines. Apply your base color, let it dry, then place the tape where you want the stripes. Paint over the tape with a contrasting color, then remove the tape to reveal the stripes.
2. Modern Nail Art Designs
Ombre Nails
Description: A gradient effect where colors blend seamlessly from one to another.
How to Achieve: Apply a base color and let it dry. Use a makeup sponge to apply a second color to the tips, gently blending it into the base color. Repeat until the desired gradient is achieved, then finish with a top coat.
Negative Space
Description: Designs that incorporate natural nail color within the artwork.
How to Achieve: Use tape or nail vinyl to cover parts of your nails before applying polish. Once the polish is dry, remove the tape to reveal the negative space.
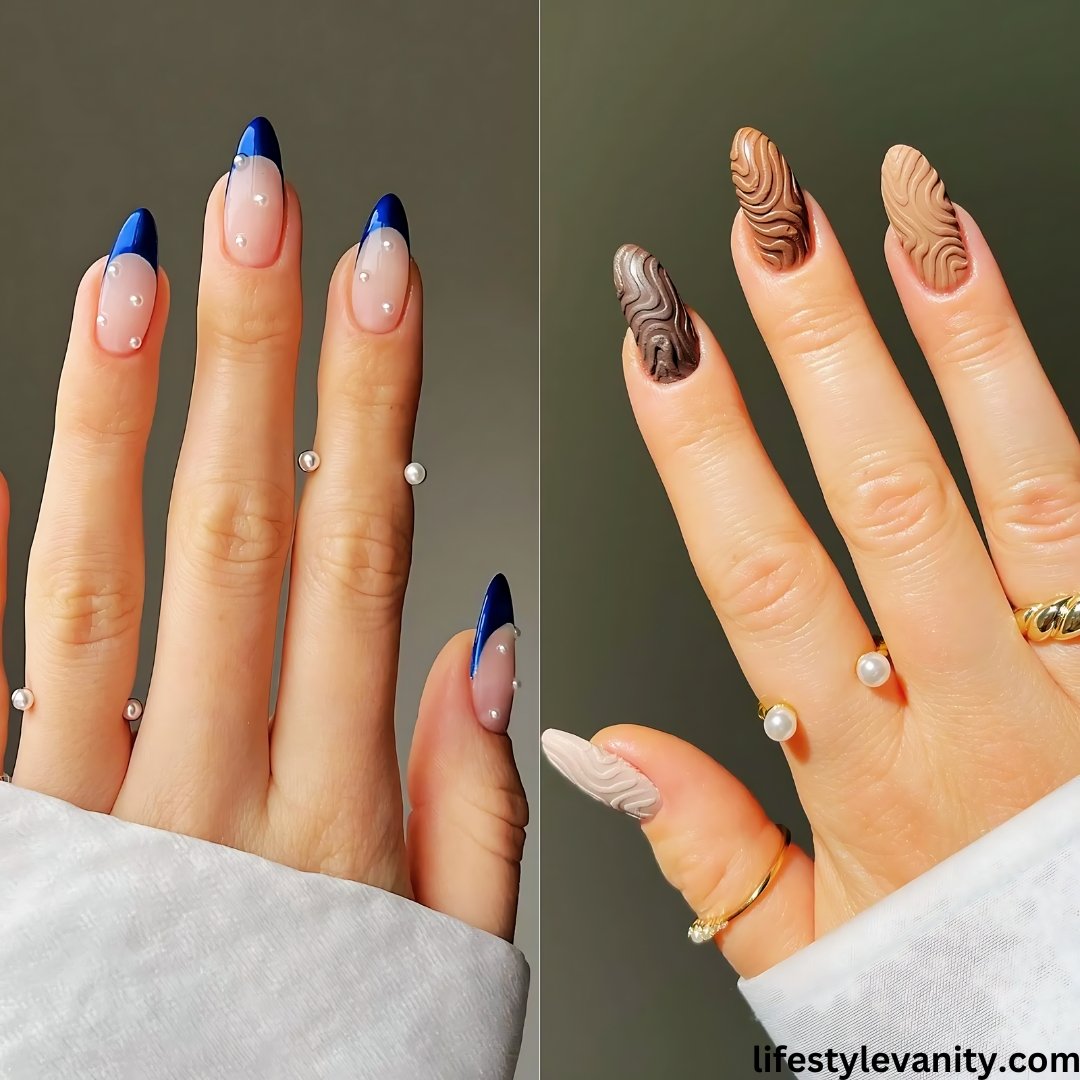
Marble Effect
Description: Nails that mimic the natural patterns of marble stone.
How to Achieve: Apply a white base color and let it dry. Use a plastic wrap technique or water marbling to create the marble effect with gray or black polish. Seal with a top coat.
3. Seasonal and Holiday Nail Art
Spring Florals
Description: Bright and cheerful floral designs perfect for spring.
How to Achieve: Use a thin nail art brush to paint flowers and leaves on a pastel base. Add dots or small lines to create details.
Summer Fun
Description: Bright colors and fun patterns like palm trees, seashells, and beach scenes.
How to Achieve: Experiment with neon colors and use nail art stickers or stamping plates to create intricate designs.
Autumn Leaves
Description: Warm hues and leaf patterns for a fall-inspired look.
How to Achieve: Paint your nails in shades of orange, red, and brown. Use a thin brush to paint leaf shapes and details.
Winter Wonderland
Description: Cool tones and festive designs like snowflakes and reindeer.
How to Achieve: Use a light blue or silver base color. Paint snowflakes with white polish and add glitter for extra sparkle.
4. Nail Art Techniques
Stamping
Description: A quick way to transfer detailed designs onto your nails.
How to Achieve: Apply polish to a stamping plate, scrape off excess polish, and use a stamper to pick up the design. Press the stamper onto your nail to transfer the pattern.
Freehand Painting
Description: Use a fine brush to paint designs directly onto your nails.
How to Achieve: Requires practice and a steady hand. Use nail art brushes and high-quality nail polish for the best results.
Decals and Stickers
Description: Pre-made designs that you can apply to your nails.
How to Achieve: Apply the decal or sticker to your nail, then seal with a top coat. Perfect for quick and easy nail art.
Water Decals
Description: Designs that you transfer to your nails using water.
How to Achieve: Cut out the desired decal, soak it in water for a few seconds, then slide it off the backing paper and onto your nail. Seal with a top coat.
5. 10 Guidelines to Blame for Flawless Nail Art
Use a Base Coat
It is always recommended to begin with a base coat to have an initial layer of protection for the nails as well as a leveled surface for your images.
Patience is Key
Make sure you do not apply several layers of polish at once because they will stick together and smudge easily.
Invest in Quality Tools
Fine brushes or dots and knives, streaking tapes – all these mean a lot for result 6.
Practice Makes Perfect
They do not like making mistakes, but it is therefore important not to get disappointed during the first tries. When it comes to nail art, a lot of patience is needed, so one should keep on practicing and refining his abilities.
As a final coat, seal the product with lacquer, varnish, or enamel.
Last but not least, it’s always wise to have a top coat as it acts as a sealant, protecting the design and giving your nails a shine.
Conclusion
Everyone loves to have something fashionable; nail art is fun and can be used to make a statement. Depending on the preference for straightforward geometric lines and common blue, beige, or any other color and using the promising and famous technologies and the new trend, demand for nail art, everyone can look for something suitable irrespective of age. As far as the described steps and recommendations from this tutorial are followed, any woman can create a perfect nail art that reflects her personality. So welcome back your favorite shade, show off your artistic skills, and transfer the images onto those nails – miniature masterpieces. Happy painting!